IKEA Montessori Hacks: 15 Budget-Friendly Ideas for Every Room
· Updated
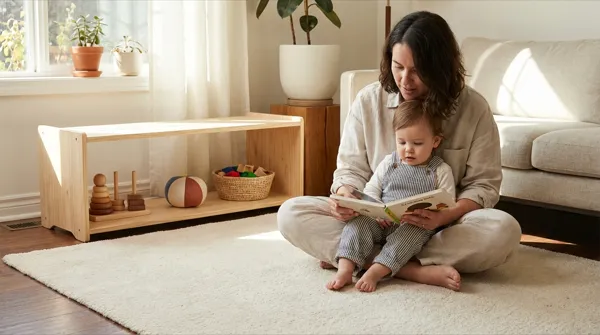
You’ve seen the beautiful Montessori setups on Instagram. The €300 learning towers. The handcrafted wooden shelves. The bespoke toddler wardrobes that cost more than your own.
And you’ve thought: That’s lovely. I can’t afford any of it.
Here’s the thing — Maria Montessori never specified a furniture brand. She specified a principle: the environment should be adapted to the child, not the other way around. Low shelves so small hands can reach. Child-sized furniture so they can sit independently. Accessible spaces so they can participate in real life.
IKEA happens to make this incredibly affordable. Some of their most basic pieces — a €10 shelf, a €7 mirror, a €15 step stool — are already Montessori-ready. Others need a simple tweak.
This guide covers 15 practical IKEA hacks, room by room, with exact product names, approximate prices, and honest notes on what works (and what doesn’t). No Pinterest-perfect staging. Just real setups that solve a daily problem.
Start with these three if you want the biggest impact for the least money: a low activity shelf, one stable step stool, and child-height hooks or baskets. You can build the rest slowly. Montessori at home works better when it grows with your child, not when it arrives as a weekend shopping project.
The quickest IKEA Montessori setup if you only have one afternoon
If you are starting from a normal family home, do not try to transform every room at once. Pick one independence problem and fix the environment around it.
| If the pain point is… | Start with this IKEA-style setup | Why it works | Skip for now if… |
|---|---|---|---|
| Toys are everywhere | Low KALLAX shelf with 6-8 visible activities | The shelf makes choice and cleanup obvious | You cannot anchor it yet |
| Mornings are chaotic | Child-height wardrobe plus two outfit choices | Dressing becomes a child-owned routine | Your toddler is still emptying every drawer |
| Kitchen help feels unsafe | Stable step stool or learning tower zone | Your child can participate without climbing furniture | You need hands-free safety for an under-2 climber |
| Shoes and coats are a battle | Low hooks, shoe tray, and a sitting spot | Leaving the house becomes a repeatable sequence | Your entryway has no wall or door space for hooks |
| Books are ignored | Face-forward FLISAT-style book display | Toddlers choose by cover, not by spine | You already have a basket that gets daily use |
My honest priority order: shelf first, stool second, hooks third. Beds and pretty rooms can wait.
IKEA Montessori decision map: where to spend first
Use this as a quick filter before you put anything in your basket.
| Your child is mostly… | Highest-value IKEA-style upgrade | Why this one first | Watch-out |
|---|---|---|---|
| 12-18 months | Low shelf with 4-6 simple activities | Builds choice, focus, and cleanup before the toy pile grows | Keep choking hazards and stacked bins out of reach |
| 18-30 months | Kitchen stool or protected learning-tower zone | Turns snack prep, washing, and pouring into daily practical life | A plain stool needs direct supervision |
| 2-4 years | Dressing station and entryway hooks | Reduces morning friction and gives real responsibility | Offer two choices, not a full wardrobe |
| 3-6 years | Art/sensory storage and book display | Supports longer independent work without constant setup help | Limit visible materials or it becomes a dumping zone |
If you live in a rental, prioritise freestanding pieces you can still make safe: a low KALLAX anchored with approved hardware where allowed, a floor-level basket system, a stable stool with non-slip feet, and adhesive hooks only for light items. Anything a child could climb should be treated as furniture, not decor.
Use this IKEA guide as your setup hub
This page is the room-by-room overview. If one part of the setup becomes your next project, use the more focused guide before you buy:
- Start with the Montessori shelf setup guide if toys are visible but still chaotic.
- Use the Montessori toy rotation guide once the KALLAX is in place and you need a calm weekly rhythm.
- Pair open shelves with the small-space Montessori storage guide so the overflow has a hidden, adult-controlled home.
- Read the Montessori floor bed guide before changing sleep, room boundaries, or nighttime access.
- Check the Montessori learning tower guide before deciding whether a BEKVÄM stool is enough or a rail-protected tower is safer.
The Bedroom: Where Independence Starts
1. The KURA Bed as a Floor Bed
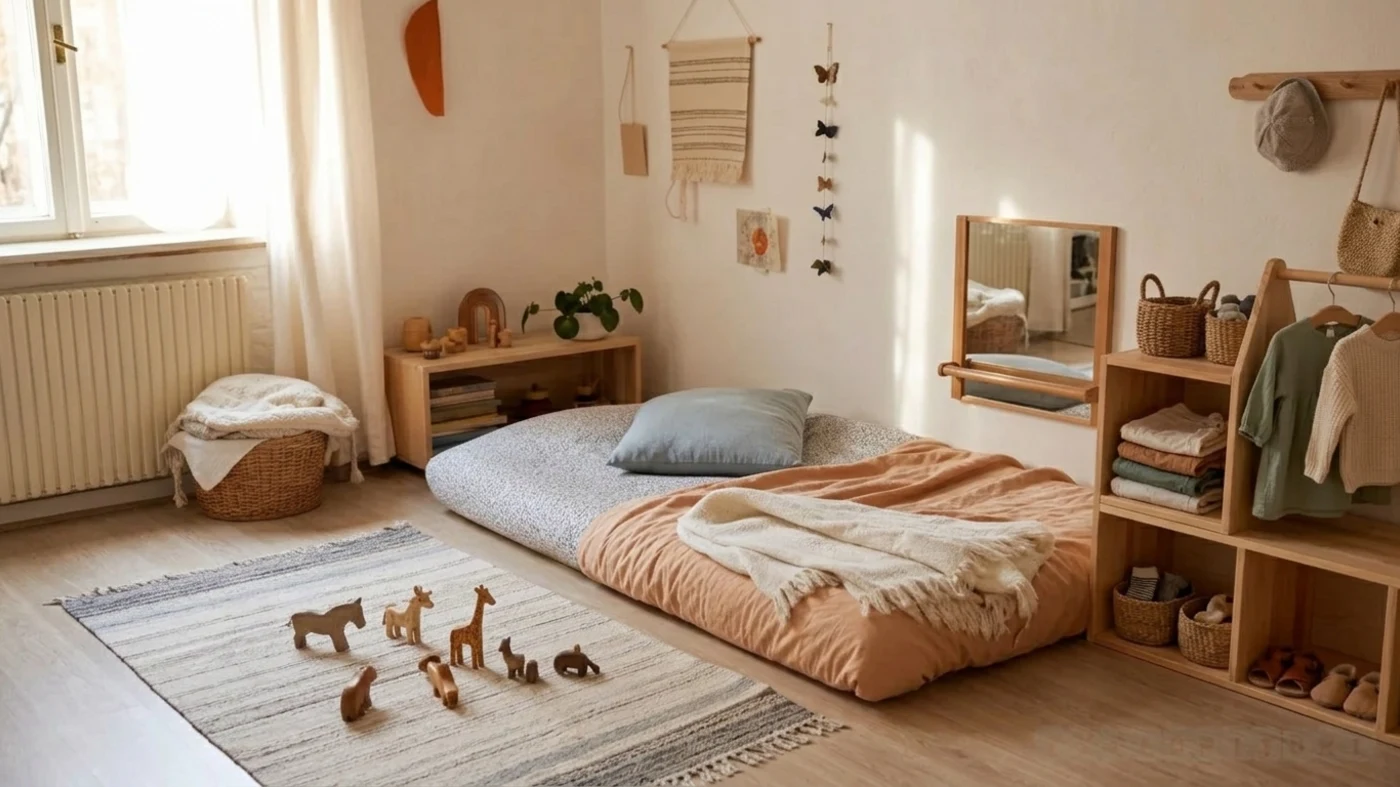
The Montessori floor bed is one of the most recognizable elements of a Montessori home — and one of the most misunderstood. It’s not about aesthetics. It’s about giving your child the freedom to get in and out of bed independently.
The IKEA KURA reversible bed (around €180) is the go-to hack. Flip it upside down, remove the top bunk structure, and you have a sturdy low bed frame that sits just above the floor. The mattress ends up about 15cm off the ground — low enough for a toddler to climb in and out safely.
Why it works: The KURA frame keeps the mattress ventilated (no mould risk from floor contact), provides a defined sleeping area, and looks intentional rather than like you just threw a mattress on the floor.
Age range: From around 15-18 months when they start climbing out of the crib, up to 6+ years.
Honest note: If your child is under 15 months, you don’t even need the KURA. A crib mattress directly on the floor works perfectly. Save the money until they’re ready for a bigger bed. If you’re still deciding between a floor bed, toddler bed, or house bed, our Montessori bed guide walks through the trade-offs. For the safety and room-prep details, use the Montessori floor bed guide before you move sleep fully to floor level.
For a cosy floor bed setup, a simple fitted sheet and a lightweight blanket are all you need. A toddler pillow can be introduced around age 2 if your child seems comfortable with one.
2. The KALLAX as a Toddler Wardrobe
The KALLAX shelf unit (1x4 configuration, around €45) turned on its side creates the perfect child-height wardrobe. Your toddler can see their clothes, choose what to wear, and put things back.
The setup:
- Bottom cubes: shoes and a small basket for socks
- Middle cubes: folded tops and bottoms (use small fabric bins to separate categories)
- Top cube: a few outfits hung on a short tension rod placed inside the cube
Why it works: When children can see and reach their clothes, getting dressed becomes their activity, not yours. A 2-year-old who picks between two shirts feels autonomous. A 4-year-old who dresses themselves entirely frees up 10 minutes of your morning.
Key tip: Only put out 3-4 options per category. Too many choices overwhelm. Rotate seasonally.
If getting dressed is your current battleground, we go deeper on clothing choices, baskets, and morning routines in our Montessori toddler wardrobe guide.
What I would not do: Do not turn the whole KALLAX into an open wardrobe on day one. Put out two tops, two bottoms, socks, and one shoe basket. Store the rest higher up. The point is independence with a high chance of success, not access to every clean item in the house.
3. The HOVET or LUNDAMO Mirror at Child Height
Mount a mirror low on the bedroom wall so your child can see themselves. This isn’t vanity — it’s self-recognition and body awareness, both important developmental milestones.
The IKEA HOVET (around €50) works well mounted horizontally at floor level. For a safer option with younger toddlers, an acrylic safety mirror is shatterproof and lightweight.
From birth: Place the mirror next to the floor bed or play mat. Tummy time becomes more engaging when babies can watch themselves.
From 12 months: Add a small pull-up bar next to the mirror. Watching themselves stand up is incredibly motivating for new walkers.
The Playroom: Less Is More
4. The KALLAX as a Montessori Activity Shelf
This is probably the single most popular IKEA Montessori hack — and for good reason.
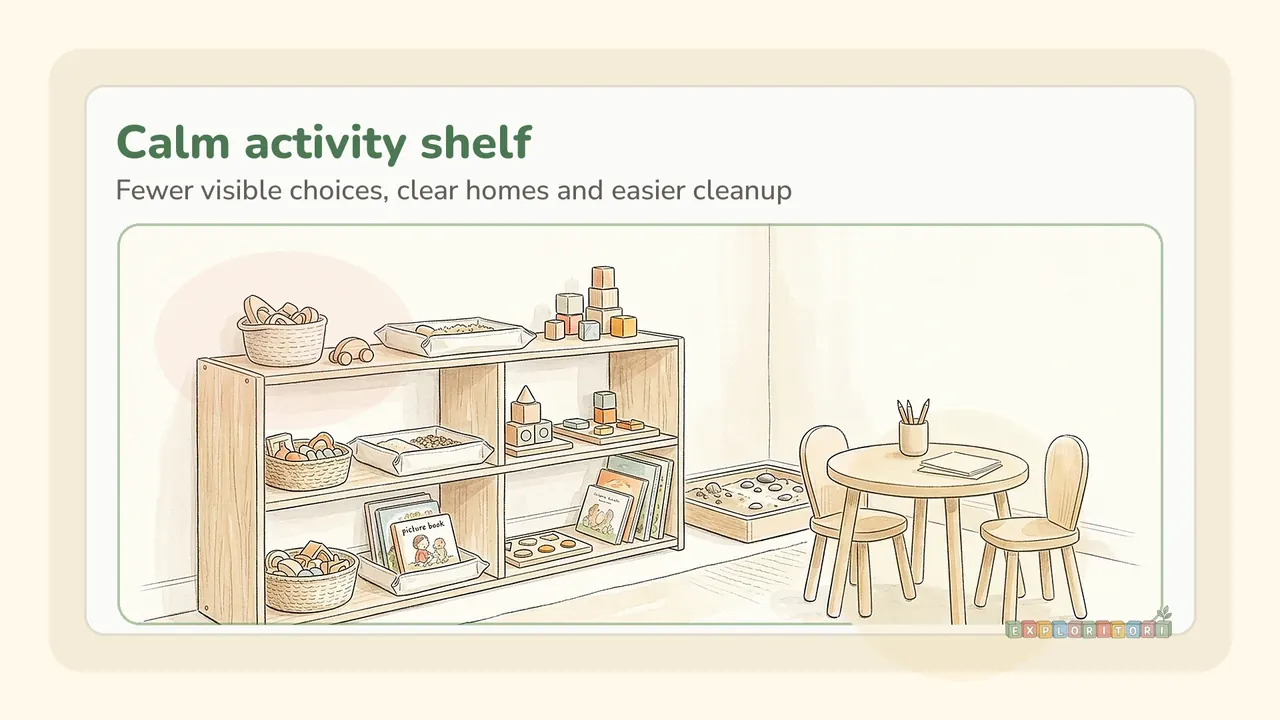
A KALLAX 2x4 (around €60) at floor level becomes the centrepiece of a Montessori play space. Each cube holds one activity or toy, displayed neatly with the front facing outward. No toy box chaos. No digging through piles. Each item has a clear home.
The rules:
- One activity per cube (maximum)
- Leave some cubes empty — white space reduces overwhelm
- Rotate activities every 1-2 weeks
- Display items on small wooden trays or in simple baskets
Why it works: When children can see exactly what’s available and each item has a defined place, they naturally develop habits of choosing, focusing on one thing, and putting it back. This isn’t magic — it’s environmental design. The shelf does the heavy lifting.
If you want to go deeper on shelf rotation and setup, we have a complete Montessori shelf guide that covers the philosophy behind it. For families in flats or shared rooms, the small-space Montessori setup guide is the more realistic companion.
Once the KALLAX is in place, the next win is rhythm: decide what stays out, where the overflow lives, and when to rotate. Our toy rotation guide covers the weekly decision-making, the small-space storage guide covers the backup baskets and cupboards, and the weekly shelf rotation planner gives you a printable way to keep it simple.
5. The TROFAST for Art Supplies and Sensory Materials
The TROFAST storage system (frame + bins, around €40-70 depending on size) is unbeatable for art supplies, sensory materials, and craft items.
The hack: Mount the TROFAST frame low on the wall or simply place it on the floor. Use the shallow bins for:
- Crayons and pencils (one bin per type)
- Collage materials (paper scraps, stickers, feathers)
- Playdough and tools
- Sensory materials (dry rice, pasta, beans)
Why TROFAST over a toy box: Your child can see what’s inside each bin, pull out what they need, and (critically) put it back in the right place. A giant toy box teaches “dump everything in” — TROFAST teaches categorisation and order.
Pair with: A child-sized table and chairs at the right height for art work. IKEA’s own LÄTT table set (around €25) works fine for toddlers, though it’s not the sturdiest option long-term.
Better rule than buying more bins: If the activity needs adult setup, keep it out of reach and invite your child to it. If the activity is safe for independent repetition, give it a visible home. That split keeps TROFAST from becoming a hidden toy box with nicer labels.
6. The FLISAT Table for Sensory Play
The FLISAT children’s table (around €30) has a clever feature: a recessed space in the centre designed for TROFAST bins. Drop in a bin, fill it with sand, water beads, dry pasta, or kinetic sand, and you have an instant sensory station.
Why parents love it: Contained mess. The bin sits inside the table, so spills stay manageable. When playtime is over, pop a lid on the bin and slide it out.
Extend it: Use the FLISAT with loose parts — wooden rings, shells, pebbles, buttons — for open-ended play that develops creativity and fine motor skills. This connects beautifully with Montessori’s emphasis on natural materials and child-led exploration.
For more sensory play ideas, check out our guide to Montessori sensory activities using things you already have at home.
The Kitchen: Real Participation, Not Pretend
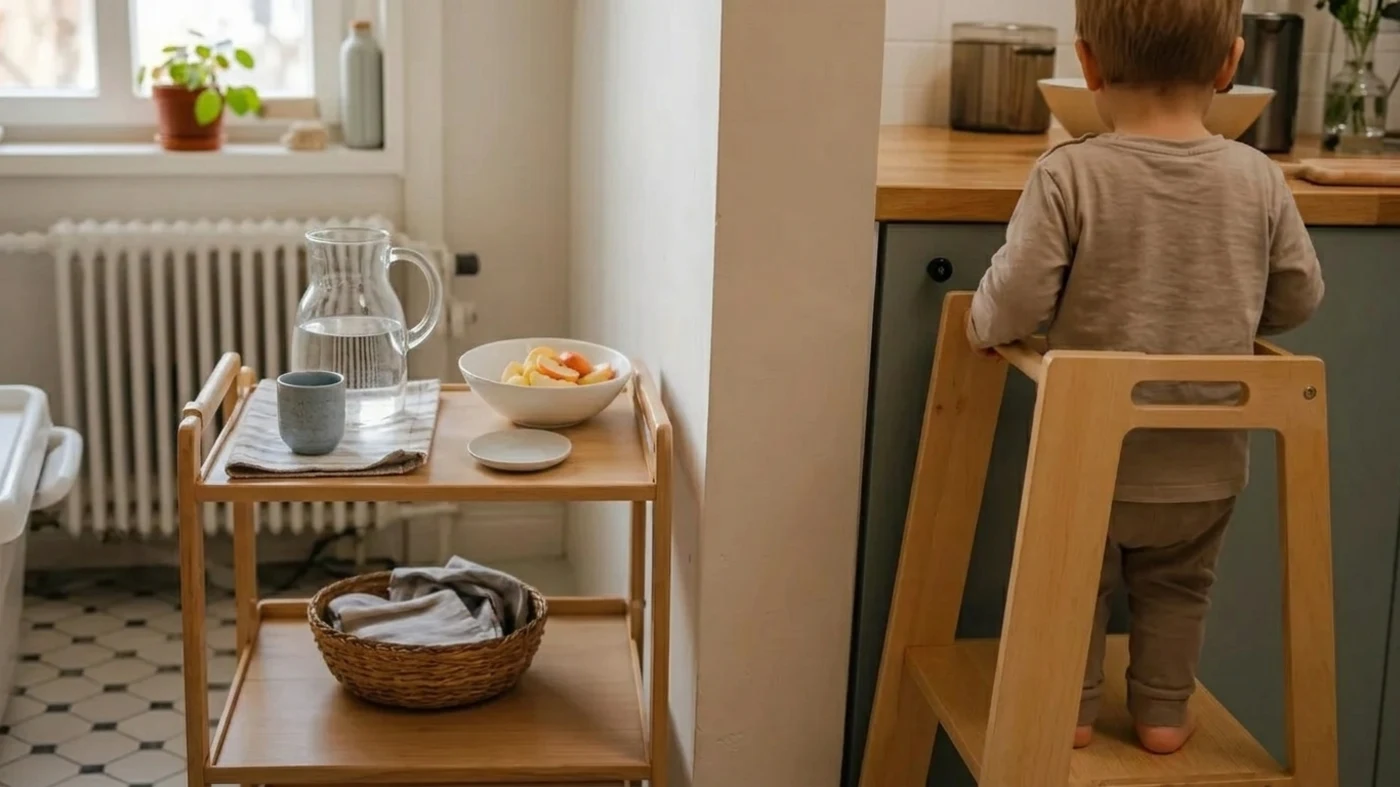
The kitchen is where Montessori’s “practical life” philosophy really shines. Children don’t want to play with toy kitchens — they want to help in your kitchen. We wrote a full guide to Montessori kitchen activities if you want to go deep on washing, pouring, mixing, and real food prep.
7. The BEKVÄM Step Stool as a Kitchen Helper
The BEKVÄM step stool (around €10-15) is legendarily useful. It brings your toddler up to counter height so they can wash vegetables, stir batter, watch you cook, and feel like a genuine participant in family life.
The safety upgrade: On its own, the BEKVÄM is just a step stool — no rails, no protection. For younger toddlers (under 2.5), add a simple railing by attaching a wooden dowel or small wooden rail to the top. There are dozens of tutorials online for this specific hack.
Or skip the DIY: If you don’t want to modify the stool, a purpose-built toddler learning tower with safety rails runs €60-100 on Amazon and gives you peace of mind from day one.
Honest take: The BEKVÄM is unbeatable on price. But if your child is adventurous and you’re nervous, investing in a proper learning tower is money well spent. Safety shouldn’t be a hack.
For children who mainly want to pour, rinse, and snack-prep, pair the stool with very small tasks: washing one apple, tearing lettuce, spooning yoghurt, wiping one spill. Our Montessori learning tower guide covers the safer tower-versus-stool decision, and the Montessori snack station guide covers the next step once your child can handle water and dry snacks calmly.
8. A Low Snack Station with the RÅSKOG Cart
The RÅSKOG trolley cart (around €30) makes a perfect self-serve snack station. Place it in the kitchen with:
- Top tier: A water pitcher and cup (child-sized)
- Middle tier: Healthy snacks in small containers (crackers, fruit, dried fruit)
- Bottom tier: Plates, napkins, a small dustpan and brush for crumbs
Why it matters: A child who can get their own water and snack when they’re hungry learns to recognise and respond to their own body’s signals. That’s a life skill, not just a Montessori activity.
Practical tip: Start with water only (less mess). Add dry snacks once they’ve mastered pouring. Fresh fruit and messier items come last.
9. The DUKTIG Play Kitchen — With a Twist
Yes, IKEA’s DUKTIG play kitchen (around €80) is technically a toy. But in a Montessori home, you can use it as a transition tool.
The twist: Stock it with real items, not plastic food. A small ceramic bowl, a wooden spoon, a cloth napkin, a tiny whisk. Let your child practise setting a table, stirring, pouring dried beans between containers, and cleaning up — all at their height, in their space.
Age sweet spot: 18 months to 3 years. After age 3, most children prefer the real kitchen entirely. The DUKTIG becomes a craft station or gets passed on.
The Bathroom: Building Daily Routines
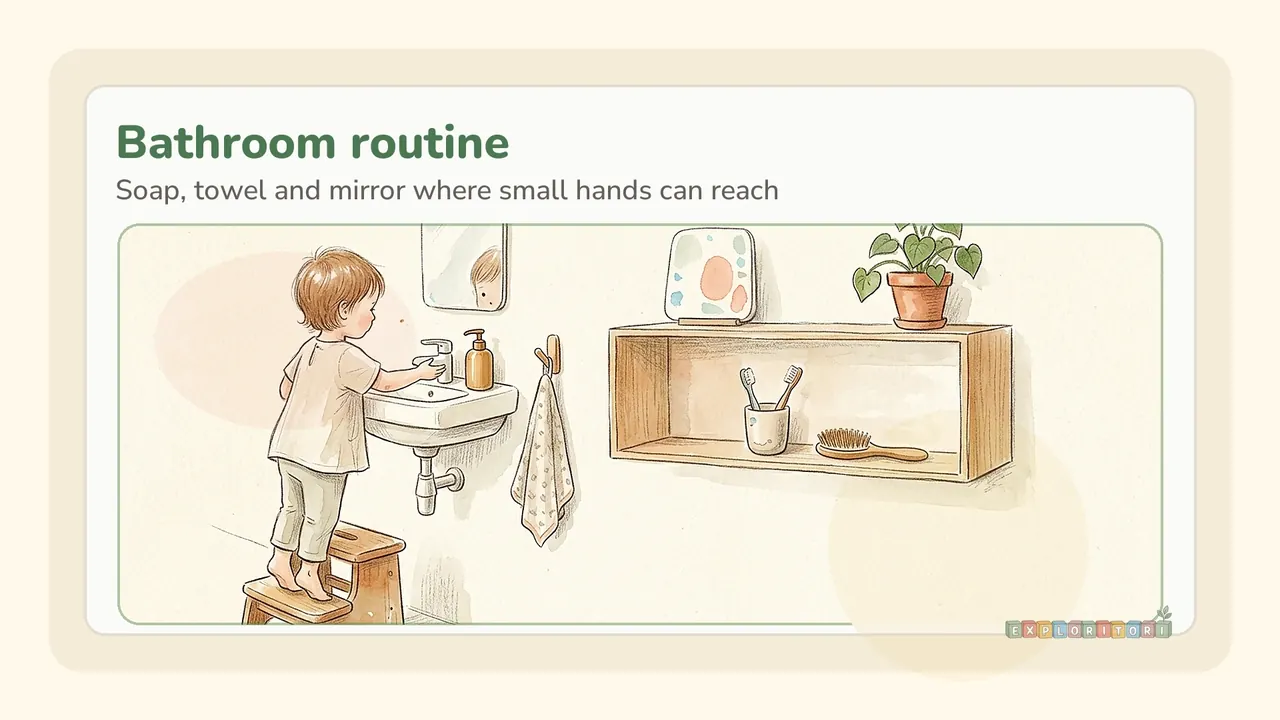
Bathroom independence is one of those Montessori principles that sounds small but changes daily life dramatically. A child who can wash their own hands, brush their own teeth, and use the toilet without calling for you is practising self-care — one of Montessori’s core “practical life” activities.
10. The BEKVÄM (Again) for the Bathroom Sink
That same BEKVÄM step stool gets a second life in the bathroom. Place it in front of the sink so your child can reach the tap, wash their hands, and brush their teeth independently.
Pair with: A child-friendly soap dispenser placed on the counter within reach. Foaming soap is easier for small hands than liquid.
Add a mirror: Mount a small mirror at child height next to the bathroom mirror. Watching themselves brush their teeth makes the routine more engaging and helps develop the coordination to do it properly.
For a fuller room-by-room bathroom checklist, see our Montessori bathroom setup guide. If toilet learning is part of the same project, pair it with the Montessori toilet learning guide so the routine stays calm and predictable.
11. The HEMNES or VESKEN Open Shelf for Toiletries
A small open shelf unit — the VESKEN (around €10) works perfectly — placed at child height holds everything your child needs for their bathroom routine:
- Their toothbrush and toothpaste
- A hairbrush
- A small towel
- Clean underwear (if they’re toilet learning)
Why open shelving: Your child can see and reach everything without asking for help. A closed cabinet means they need you. An open shelf means they don’t.
12. Low Hooks for Towels
Mount IKEA hooks (the KROKIG children’s hooks are perfect, around €8) at your child’s height for their towel and bathrobe. After washing hands, they can dry them independently. After a bath, they can reach their own towel.
Sounds tiny. Isn’t. Every small act of independence reinforces the message: “You are capable.” That message, repeated hundreds of times through daily routines, shapes how a child sees themselves.
The Reading Nook: Making Books Irresistible
13. The FLISAT Wall Book Storage
The FLISAT wall book display (around €15) is a shallow shelf that shows book covers face-forward. Mount two or three of these at child height, and you’ve created a bookshop-style display that makes books visually appealing and easy to choose.
Vs. a regular bookshelf: A traditional bookshelf shows spines. A toddler can’t read spines. They choose books by their covers — by the colours, images, and characters they recognise. Face-forward display dramatically increases how often children pick up books.
Rotation tip: Display 5-8 books at a time. Rotate weekly. When “new” books appear (even ones they’ve read before), children treat them with fresh interest.
Pair with: A cosy floor cushion or reading nook tent below the book display. Creating a defined, comfortable reading space signals “this is where we read” — and children gravitate to it.
14. The KALLAX on Its Side as a Reading Bench
Here’s a hack you don’t see as often: lay a KALLAX 1x4 on its side, add a cushion on top, and you have a reading bench with four cubes of book storage underneath.
Fill the cubes with books sorted by theme (animals, vehicles, bedtime stories, nature), and your child has a cosy seat with their entire library within arm’s reach.
Cost: Around €45 for the KALLAX + €15-20 for a cushion pad. Under €65 for a piece that serves double duty as seating and storage.
The Entryway: Starting and Ending the Day Right
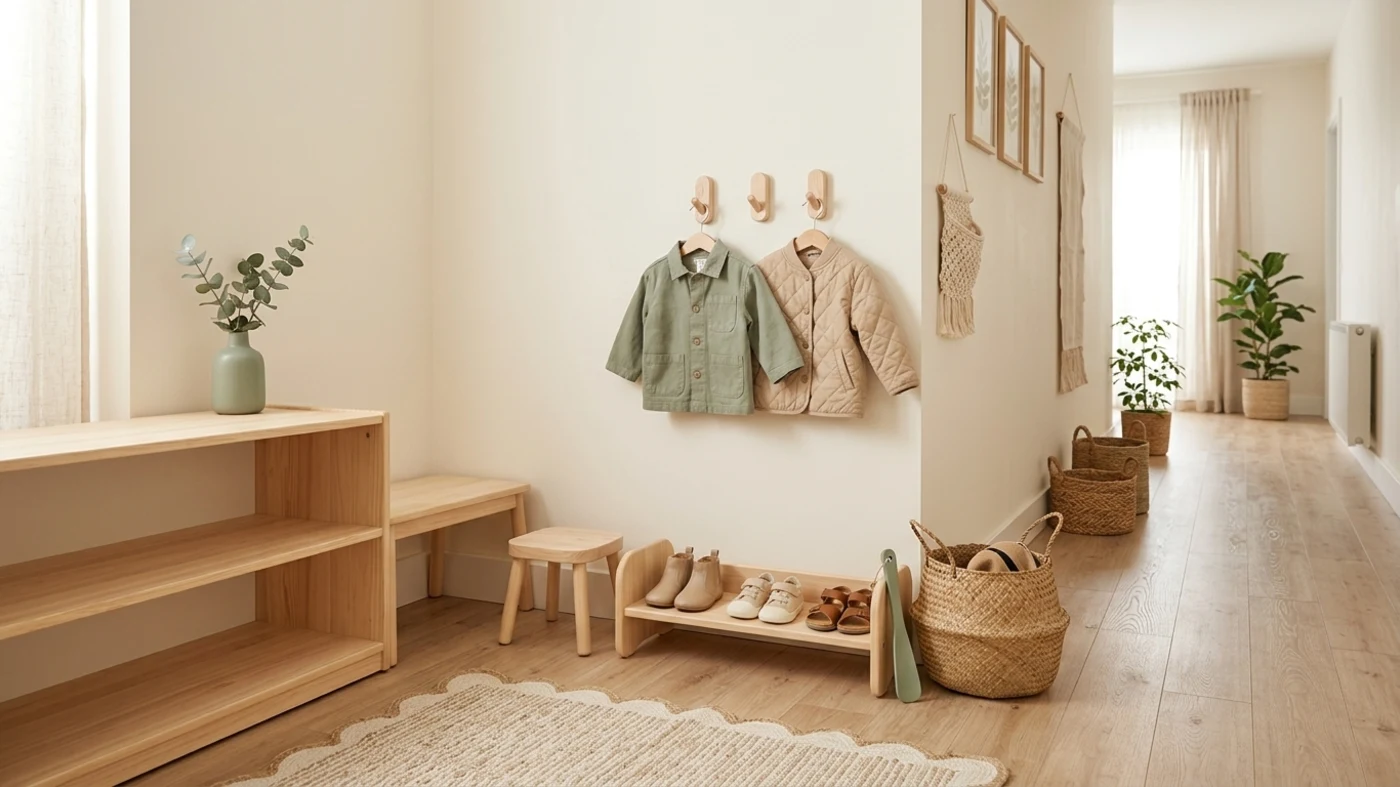
15. A Self-Serve Coat and Shoe Station
The daily routine of arriving and leaving the house is an opportunity for independence that most families overlook.
The setup:
- KROKIG or KUBBIS hooks mounted at child height for coats, jackets, and bags
- A low TJUSIG shoe rack (around €20) or simply a tray on the floor for shoes
- A small bench or the BEKVÄM stool for sitting while putting on shoes
The magic: When your child knows exactly where their shoes live, where to hang their coat, and has a place to sit while they work on those tricky buckles, leaving the house stops being a battle. They do it themselves because the environment makes it obvious.
Bonus: Add a small basket for seasonal accessories — sunhat and sunscreen in summer, gloves and woolly hat in winter. Your child learns to check the weather and grab what they need.
The Real Cost: An Honest Breakdown
Let’s add it up. A whole-home IKEA Montessori setup covering the essentials:
| Item | Approx. Price |
|---|---|
| KURA bed (floor bed) | €180 |
| KALLAX 1x4 (wardrobe) | €45 |
| KALLAX 2x4 (play shelf) | €60 |
| TROFAST frame + bins | €50 |
| FLISAT table | €30 |
| BEKVÄM stool (x2) | €20 |
| RÅSKOG cart | €30 |
| FLISAT book display (x2) | €30 |
| VESKEN bathroom shelf | €10 |
| KROKIG hooks (x2) | €16 |
| Total | ~€471 |
Call it under €500 for a full, multi-room Montessori transformation. For comparison, a single purpose-built Montessori shelf from a specialist brand often costs €200-400 on its own.
You don’t need to do it all at once, either. Start with one room. The bedroom or playroom shelf makes the biggest immediate impact. Add pieces as your child grows and as your budget allows.
Budget-first approach: If €500 is still too much, the three highest-impact items are:
- KALLAX 2x4 for the playroom (€60) — transforms toy chaos into calm
- BEKVÄM step stool for the kitchen (€10) — unlocks daily participation
- FLISAT book display (€15) — makes reading irresistible
That’s €85. Eighty-five euros for the three changes that make the most difference. Everything else is a bonus.
A realistic 30-day setup plan
You do not need a full-house makeover. A phased plan is calmer for your child and easier on your budget.
| Week | Change | Keep it small by… | Success looks like… |
|---|---|---|---|
| 1 | Create one low activity shelf | Displaying 4-6 activities and storing the rest away | Your child can choose one thing and return it with help |
| 2 | Add one practical-life station | Starting with water, cloths, or snack prep only | Your child repeats one real routine most days |
| 3 | Fix one transition zone | Low hooks, shoe tray, and a sitting spot | Leaving the house has the same visible sequence each time |
| 4 | Add bedroom or bathroom access | Two clothing choices or a reachable toothbrushing setup | Your child does one more step without calling for you |
Stop after each week and watch what actually gets used. If the shelf is working but the snack station creates constant spills, keep the shelf and simplify the snack station. Montessori at home is a feedback loop, not a shopping list.
Essential Safety Notes
Every single one of these hacks comes with one non-negotiable rule: anchor furniture to the wall.
IKEA includes wall-anchoring kits with most furniture, and for good reason. A toddler who climbs a KALLAX that isn’t secured is in serious danger. This isn’t optional.
Checklist before any Montessori setup:
- Wall-anchor all shelves, dressers, and units above child height
- Use safety covers on any exposed outlets near child-height furniture
- Ensure mirrors are securely mounted, or use acrylic alternatives
- Test step stool stability: no wobble, no sliding, no tipping
- Remove small parts or choking hazards from accessible shelves for children under 3
- Check that any tension rods used in wardrobes are securely fitted
- Re-check anchors, screws, and stool feet after the first week of real use
- Keep water, scissors, art materials, and food-prep tools in adult-controlled rotation until your child has shown they can use them safely
Safety first. Always. The Montessori principle of freedom exists within carefully prepared boundaries — and that starts with making sure nothing can fall on your child.
How this guide was reviewed
This is a practical setup guide, not a lab test of every IKEA product. I reviewed it against the same Montessori-at-home criteria used across Exploritori: child access, repeatability, safety boundaries, cleanup reality, and whether the setup solves a real family routine rather than just looking good in a photo.
Prices are approximate and can change by country, colour, and stock status. Product names also change over time, so treat the IKEA names here as starting points and check current dimensions, anchoring requirements, and age/safety notes before buying or modifying anything. Where a DIY modification affects climbing, sleep, mirrors, or kitchen access, the safer answer is to slow down and choose the more stable setup.
The Bigger Picture
Here’s what no furniture hack can give you: the mindset shift.
Montessori at home isn’t about having the right shelf or the perfect book display. It’s about looking at your home through your child’s eyes and asking: What can they reach? What can they do for themselves? Where am I doing things for them that they could learn to do alone?
IKEA makes the physical changes affordable. But the real transformation happens when you start stepping back — letting your child pour their own water (yes, they’ll spill it), choose their own clothes (yes, the combinations will be wild), and put their own shoes on (yes, it takes four times as long).
That patience is the most Montessori thing you can buy. And it’s free.
Have questions about setting up a Montessori space on a budget? We’d love to hear what’s worked in your home. Drop us a comment or find us on Pinterest for more ideas.
 Get weekly Montessori tips
Honest reviews, activity ideas, and budget-friendly picks — no spam, just what works.
Subscribe Free